本文介绍在 CentOS 7 系统上安装和配置 HAProxy 作为四层 TCP 负载均衡器,并进行基本测试的步骤。请注意,文中使用的 HAProxy 1.8.12 版本较旧,建议在生产环境中使用更新的稳定版本。
环境与架构
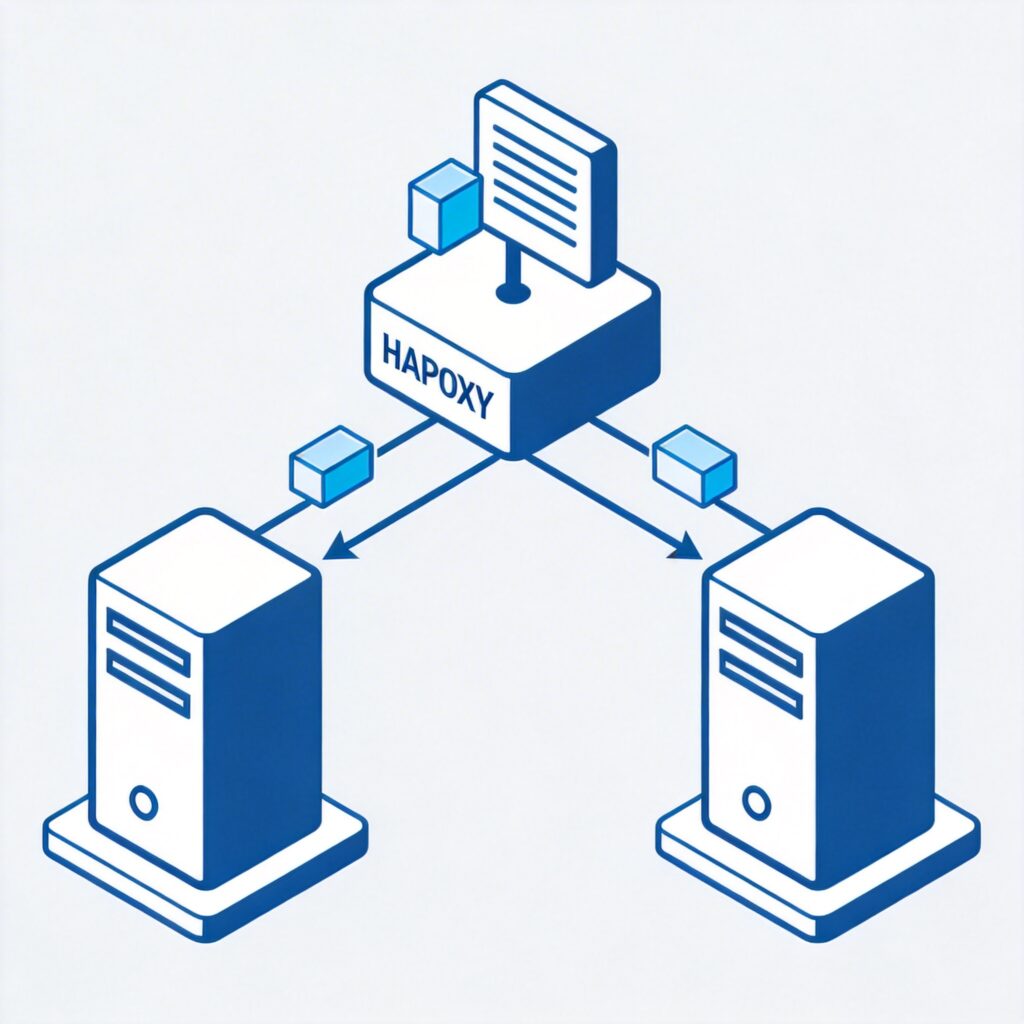
假设网络环境如下:
- HAProxy 负载均衡服务器 IP:
166.110.110.100 - 后端服务器 1 IP:
166.110.110.1 - 后端服务器 2 IP:
166.110.110.2
CentOS 7 系统准备
在安装 HAProxy 前,建议进行以下系统配置(测试环境适用,生产环境请根据安全策略调整)。
关闭 SELinux
# 编辑 SELinux 配置文件
vi /etc/selinux/config
# 将 SELINUX=enforcing 修改为
SELINUX=disabled
# 保存并退出后,执行以下命令使配置立即生效(重启后永久生效)
setenforce 0
关闭防火墙(仅用于测试)
# 停止并禁用 firewalld 服务
systemctl stop firewalld.service
systemctl disable firewalld.service
HAProxy 安装
以下步骤通过源码编译安装 HAProxy 1.8.12。
# 安装编译工具并下载源码
 yum install wget gcc -y
 wget -c --no-check-certificate https://src.fedoraproject.org/repo/pkgs/haproxy/haproxy-1.8.12.tar.gz
 tar -xvf haproxy-1.8.12.tar.gz
 cd haproxy-1.8.12

# 创建运行 HAProxy 的用户和组
 groupadd haproxy
 useradd -g haproxy haproxy -s /bin/false

# 编译安装(此处省略编译参数,实际生产请根据需求添加,如 TARGET=linux2628)
 make TARGET=linux2628 USE_OPENSSL=1 USE_ZLIB=1 USE_PCRE=1
 make install PREFIX=/usr/local/haproxy

# 创建配置文件目录并复制配置文件
 mkdir -p /etc/haproxy
 cp examples/haproxy.cfg /etc/haproxy/

# 创建必要的目录并设置权限
 mkdir -p /var/lib/haproxy
 chown -R haproxy:haproxy /var/lib/haproxy
HAProxy 配置
编辑配置文件 /etc/haproxy/haproxy.cfg,配置一个四层 TCP 模式的负载均衡。
global
    log         127.0.0.1 local2
    chroot      /var/lib/haproxy
    pidfile     /var/run/haproxy.pid
    maxconn     4000
    user        haproxy
    group       haproxy
    daemon
    stats socket /var/lib/haproxy/stats

defaults
    mode                    tcp          # 修改为 tcp 模式以适应四层负载
    log                     global
    option                  tcplog       # 使用 tcp 日志格式
    option                  dontlognull
    option                  redispatch
    retries                 3
    timeout connect         10s
    timeout client          1m
    timeout server          1m
    maxconn                 3000

# 管理统计页面(可选,用于监控)
listen admin_stats
    bind 127.0.0.1:1080
    mode http
    stats enable
    stats hide-version
    stats uri /stats
    stats refresh 30s
    stats realm HAProxy Statistics
    stats auth admin:admin

# 主要的 TCP 负载均衡监听配置
listen web_tcp_frontend
    bind 0.0.0.0:80
    mode tcp
    balance leastconn          # 使用最少连接算法
    server s1 166.110.110.1:80 check
    server s2 166.110.110.2:80 check
服务管理
创建 Systemd 服务文件以便管理。创建 /usr/lib/systemd/system/haproxy.service:
[Unit]
Description=HAProxy Load Balancer
After=network.target

[Service]
ExecStart=/usr/local/haproxy/sbin/haproxy -f /etc/haproxy/haproxy.cfg
ExecReload=/bin/kill -USR2 $MAINPID
Restart=on-failure

[Install]
WantedBy=multi-user.target
然后使用 systemctl 命令管理服务:
# 重新加载 systemd 配置
systemctl daemon-reload
# 启动 HAProxy
systemctl start haproxy.service
# 设置开机自启
systemctl enable haproxy.service
# 查看状态
systemctl status haproxy.service
# 其他常用命令:stop, restart, reload
管理统计页面可通过 http://166.110.110.100:1080/stats 访问(用户名/密码:admin/admin)。
后端服务准备与测试
为了测试负载均衡效果,需要在两台后端服务器上部署简单的 Web 服务。这里以安装 lighttpd 为例。
后端服务器配置
在两台后端服务器(166.110.110.1 和 166.110.110.2)上分别执行:
# 1. 关闭防火墙和 SELinux(测试环境)
systemctl stop firewalld.service
systemctl disable firewalld.service
# 修改 /etc/selinux/config 将 SELINUX 设置为 disabled,并执行 setenforce 0

# 2. 安装 lighttpd
yum install -y epel-release lighttpd

# 3. (可选)编辑配置文件关闭 IPv6
vi /etc/lighttpd/lighttpd.conf
# 找到 server.use-ipv6 并设置为 "disable"

# 4. 启动并设置开机自启
systemctl start lighttpd.service
systemctl enable lighttpd.service
创建测试页面
为了区分两台后端服务器,分别修改其默认首页:
- 在服务器 1 (166.110.110.1) 上执行:
echo "This is Upstream Server 1
" > /var/www/lighttpd/index.html - 在服务器 2 (166.110.110.2) 上执行:
echo "This is Upstream Server 2
" > /var/www/lighttpd/index.html
测试负载均衡
在客户端浏览器或使用 curl 命令多次访问 HAProxy 服务器的 IP 地址:
curl http://166.110.110.100反复刷新,应该能看到返回的页面内容在 "This is Upstream Server 1" 和 "This is Upstream Server 2" 之间轮换(取决于配置的负载均衡算法),从而验证负载均衡工作正常。
HAProxy 负载均衡算法简介
HAProxy 支持多种负载均衡算法,在 balance 指令后指定。常用算法包括:
- roundrobin:基于权重的轮询,动态调整,最常用。
- static-rr:基于权重的轮询,静态配置,权值固定。
- leastconn:将请求分发给当前连接数最少的后端服务器,适合长连接场景。
- source:对源 IP 进行哈希计算,同一 IP 的请求总是发往同一后端,可保持会话。
- uri:对 URI 的左半部分(问号之前)进行哈希,可将同一资源定向到固定后端。
- url_param:通过
url_param指定 URL 参数,根据参数值哈希。 - hdr(name):根据 HTTP 头部的指定字段进行哈希。
- rdp-cookie(name):根据 RDP Cookie 进行哈希,用于 TCP 层的会话保持。
对于四层 TCP 负载,常用的算法是 leastconn 和 source。
测试下下