服务器初始配置
在开始安装 Lighttpd 之前,建议先对服务器进行一些基础配置,以确保系统稳定、安全并符合使用习惯。
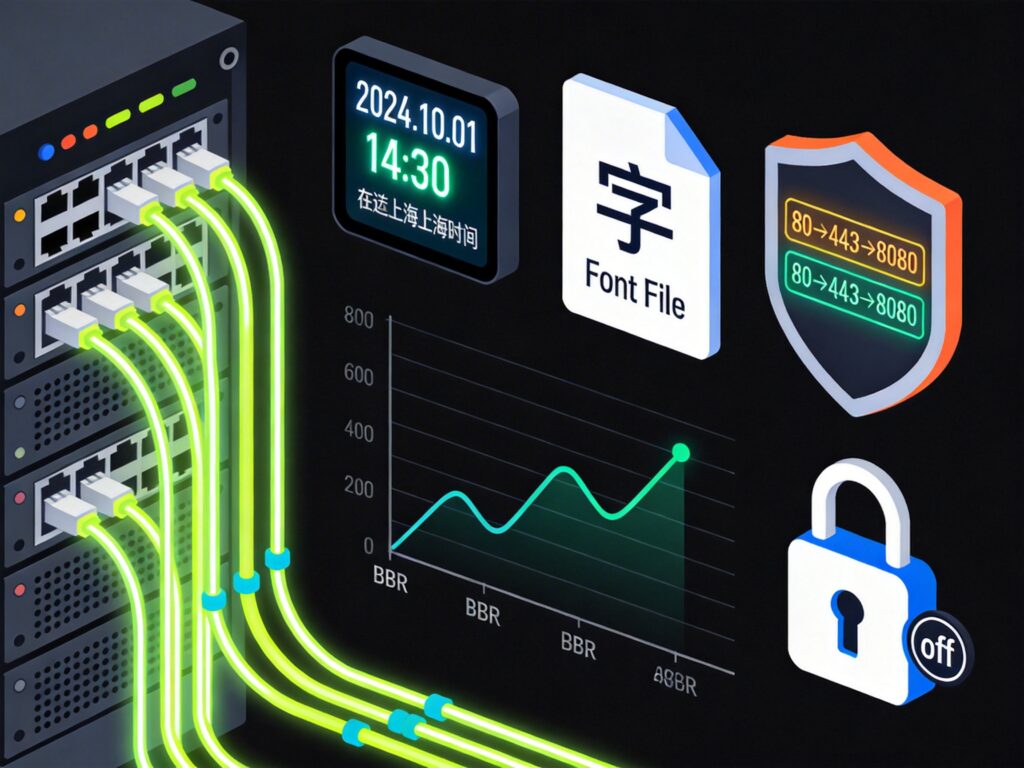
1. 设置系统时区与时间同步
使用 NTP 服务同步准确时间,并将时间写入硬件时钟,防止重启后失效。
timedatectl set-timezone Asia/Shanghai
yum install -y ntp
systemctl start ntpd
systemctl enable ntpd
hwclock --systohc
2. 安装中文字体(可选)
如果服务器需要处理或显示中文文件名(例如作为文件服务器),可以安装中文字体包。
yum install -y fontconfig
# 安装常用中文字体,例如:
yum install -y wqy-microhei-fonts
3. 修改 SSH 端口
重要提示:修改端口前,务必先在防火墙中放行新端口,否则可能导致 SSH 连接中断。
- 编辑 SSH 配置文件:
vi /etc/ssh/sshd_config,找到#Port 22一行,修改为Port 新端口号(例如 2222)。 - 在防火墙中添加新端口:
firewall-cmd --permanent --add-port=新端口号/tcp - 重新加载防火墙配置:
firewall-cmd --reload - 重启 SSH 服务:
systemctl restart sshd - 验证服务状态:
systemctl status sshd
4. 开启 BBR 拥塞控制算法
BBR 可以有效提升网络吞吐量。使用以下脚本一键安装并启用:
wget --no-check-certificate https://github.com/teddysun/across/raw/master/bbr.sh && chmod +x bbr.sh && ./bbr.sh安装完成后,重启服务器。重启后,使用以下命令验证 BBR 是否生效:
sysctl net.ipv4.tcp_congestion_control
# 应返回:net.ipv4.tcp_congestion_control = bbr
lsmod | grep bbr
# 应看到 tcp_bbr 模块(部分 VPS 可能不显示,也属正常)
5. 关闭 SELinux
SELinux 可能会对服务运行造成阻碍,在测试或明确不需要时可以选择关闭。
- 临时关闭:
setenforce 0 - 永久关闭:编辑
/etc/selinux/config文件,将SELINUX=enforcing改为SELINUX=disabled,然后重启服务器。
一、使用包管理器安装 Lighttpd
CentOS 7 默认仓库不包含 Lighttpd,需要先安装 EPEL 扩展仓库。
yum install -y epel-release
yum update -y
yum install -y lighttpd
安装完成后,可以查看已安装的版本:
lighttpd -v
# 或
rpm -qa | grep lighttpd
二、编译安装 Lighttpd
如果需要特定版本或自定义功能,可以选择编译安装。以下以 1.4.48 版本为例。
# 1. 安装编译依赖
cd /tmp
yum install -y gcc gcc-c++ autoconf automake make pcre-devel zlib-devel openssl-devel bzip2

# 2. 下载并解压源码包
wget https://download.lighttpd.net/lighttpd/releases-1.4.x/lighttpd-1.4.48.tar.gz
tar -zxvf lighttpd-1.4.48.tar.gz
cd lighttpd-1.4.48

# 3. 配置、编译并安装
./configure
make
make install注意:编译安装的 Lighttpd 默认不会创建 systemd 服务文件,需要手动配置。建议非必要情况下优先使用包管理器安装。
三、Lighttpd 配置文件结构
通过包管理器安装后,主要的配置文件路径如下:
- 主配置文件:
/etc/lighttpd/lighttpd.conf - 模块配置文件:
/etc/lighttpd/modules.conf - 模块配置目录:
/etc/lighttpd/conf.d/ - 虚拟主机配置目录:
/etc/lighttpd/vhosts.d/
四、Lighttpd 服务管理命令
CentOS 7 使用 systemd 管理系统服务。
- 启动服务:
systemctl start lighttpd - 停止服务:
systemctl stop lighttpd - 重启服务:
systemctl restart lighttpd - 查看状态:
systemctl status lighttpd - 设置开机自启:
systemctl enable lighttpd - 取消开机自启:
systemctl disable lighttpd
卸载 Lighttpd:
# 通过 yum 安装的卸载方式
yum remove lighttpd
五、防火墙配置
CentOS 7 默认使用 firewalld。需要放行 Web 服务端口(默认为 80 或 443)。
# 放行 HTTP (80) 端口
firewall-cmd --permanent --add-service=http
# 放行 HTTPS (443) 端口
firewall-cmd --permanent --add-service=https
# 重新加载配置
firewall-cmd --reload
# 查看已放行的服务/端口
firewall-cmd --list-all
如果需要切换回传统的 iptables,可以执行:
systemctl stop firewalld
systemctl disable firewalld
yum install -y iptables-services
systemctl start iptables
systemctl enable iptables
然后编辑 /etc/sysconfig/iptables 文件来配置规则。
六、为 Lighttpd 安装并配置 PHP
Lighttpd 通过 FastCGI 与 PHP-FPM 协同工作。
-
安装 PHP 及相关组件:
yum install -y php php-cli php-fpm php-mysqlnd php-gd php-mbstring -
配置 PHP-FPM:
编辑/etc/php-fpm.d/www.conf,确保用户和组设置为lighttpd(或与 Lighttpd 运行用户一致)。user = lighttpd group = lighttpd listen = 127.0.0.1:9000 -
配置 Lighttpd 启用 FastCGI 模块:
确保/etc/lighttpd/modules.conf中包含include "conf.d/fastcgi.conf"。 -
配置 FastCGI:
编辑/etc/lighttpd/conf.d/fastcgi.conf,添加 PHP 处理规则:fastcgi.server += ( ".php" => (( "host" => "127.0.0.1", "port" => "9000", "broken-scriptfilename" => "enable" )) ) -
启动并设置服务:
systemctl start php-fpm systemctl enable php-fpm systemctl restart lighttpd -
测试 PHP:
在网站根目录(如/var/www/html)创建info.php文件,内容为<?php phpinfo(); ?>。通过浏览器访问该文件,确认 PHP 信息页正常显示。
七、安装 FTP 服务(可选)
如果需要 FTP 服务,可以考虑安装更轻量、安全的 Pure-FTPd。
yum install -y pure-ftpd
systemctl start pure-ftpd
systemctl enable pure-ftpd
# 在防火墙中放行 FTP 服务
firewall-cmd --permanent --add-service=ftp
firewall-cmd --reload
Pure-FTPd 的配置和管理相对简单,建议参考其官方文档进行用户和权限设置。