功能概述
在 WordPress 后台的文章列表页面直接编辑特色图像(Featured Image),可以显著提升内容管理效率。无需逐一点击进入文章编辑页面,即可快速设置或更换缩略图,尤其适合需要批量处理文章封面的场景。
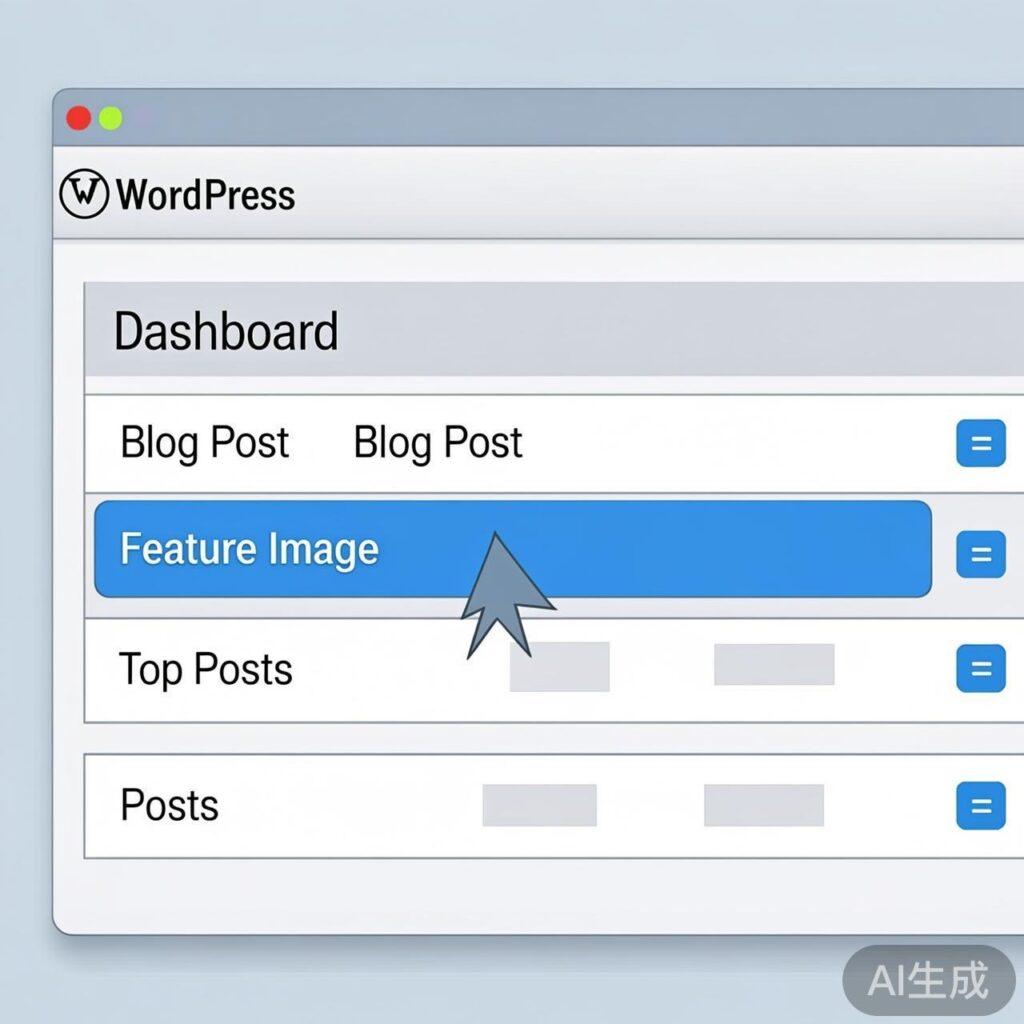
实现效果
功能实现后,文章列表将新增“特色图像”列,并支持通过“快速编辑”功能直接上传或更换图像。效果示意如下:

前提条件:启用主题缩略图支持
确保你的 WordPress 主题已支持文章缩略图功能。如果尚未开启,请在当前主题的 functions.php 文件中添加以下代码:
// 开启文章缩略图功能
add_theme_support('post-thumbnails');
步骤一:在文章列表添加特色图像列
将以下代码添加到主题的 functions.php 文件中。这段代码会在文章管理列表中添加一个名为“特色图像”的新列。
/*
 * 添加特色图像列到文章列表
 */
add_filter('manage_post_posts_columns', 'lb_featured_image_column');
function lb_featured_image_column($column_array) {
    $column_array = array_slice($column_array, 0, 1, true)
    + array('featured_image' => '特色图像')
    + array_slice($column_array, 1, NULL, true);
    return $column_array;
}

/*
 * 为特色图像列填充内容
 */
add_action('manage_posts_custom_column', 'lb_render_the_column', 10, 2);
function lb_render_the_column($column_name, $post_id) {
    if ($column_name == 'featured_image') {
        if (has_post_thumbnail($post_id)) {
            $thumb_id = get_post_thumbnail_id($post_id);
            echo '<img data-id="' . $thumb_id . '" src="' . wp_get_attachment_url($thumb_id) . '" />';
        } else {
            // 如果未设置特色图像,显示一个占位图。请确保 /placeholder.png 存在于你的主题目录中。
            echo '<img data-id="-1" src="' . get_stylesheet_directory_uri() . '/placeholder.png" />';
        }
    }
}
步骤二:添加管理后台样式
添加 CSS 样式来美化新添加的列和快速编辑界面。将以下代码同样放入 functions.php。
add_action('admin_head', 'lb_custom_css');
function lb_custom_css() {
    echo '<style>
        #featured_image {
            width: 120px;
        }
        td.featured_image.column-featured_image img {
            max-width: 100%;
            height: auto;
        }
        /* 快速编辑菜单样式 */
        #lb_featured_image .title {
            margin-top: 10px;
            display: block;
        }
        #lb_featured_image a.lb_upload_featured_image {
            display: inline-block;
            margin: 10px 0 0;
        }
        #lb_featured_image img {
            display: block;
            max-width: 200px !important;
            height: auto;
        }
        #lb_featured_image .lb_remove_featured_image {
            display: none;
        }
    </style>';
}
完成以上两步后,刷新文章列表页面,应该能看到新增的“特色图像”列,并显示当前文章的缩略图或占位符。

步骤三:实现快速编辑功能
1. 加载媒体上传脚本
确保 WordPress 的媒体上传功能在后台可用。
add_action('admin_enqueue_scripts', 'lb_include_myuploadscript');
function lb_include_myuploadscript() {
    if (!did_action('wp_enqueue_media')) {
        wp_enqueue_media();
    }
}
2. 在快速编辑框中添加字段
在“快速编辑”界面中添加特色图像的上传和移除控件。
add_action('quick_edit_custom_box', 'lb_add_featured_image_quick_edit', 10, 2);
function lb_add_featured_image_quick_edit($column_name, $post_type) {
    if ($column_name != 'featured_image') return;
    echo '<fieldset id="lb_featured_image" class="inline-edit-col-left">
        <div class="inline-edit-col">
            <span class="title">特色图像</span>
            <div>
                <a href="#" class="lb_upload_featured_image">设置特色图像</a>
                <input type="hidden" name="_thumbnail_id" value="" />
            </div>
            <a href="#" class="lb_remove_featured_image">移除特色图像</a>
        </div>
    </fieldset>';
}
3. 添加 JavaScript 处理逻辑
这是功能的核心,负责处理图像上传、移除以及快速编辑时的数据填充与保存。
add_action('admin_footer', 'lb_quick_edit_js_update');
function lb_quick_edit_js_update() {
    global $current_screen;
    if (($current_screen->id != 'edit-post') || ($current_screen->post_type != 'post')) {
        return;
    }
?>
<script>
jQuery(function($) {
    // 处理“设置特色图像”按钮点击,打开媒体库
    $('body').on('click', '.lb_upload_featured_image', function(e) {
        e.preventDefault();
        var button = $(this);
        var custom_uploader = wp.media({
            title: '设置特色图像',
            library: { type: 'image' },
            button: { text: '设置特色图像' }
        }).on('select', function() {
            var attachment = custom_uploader.state().get('selection').first().toJSON();
            $(button).html('<img src="' + attachment.url + '" />')
                     .next().val(attachment.id)
                     .parent().next().show();
        }).open();
    });

    // 处理“移除特色图像”按钮点击
    $('body').on('click', '.lb_remove_featured_image', function() {
        $(this).hide().prev().val('-1').prev().html('设置特色图像');
        return false;
    });

    // 扩展原生的快速编辑函数,用于在打开时填充现有数据
    var $wp_inline_edit = inlineEditPost.edit;
    inlineEditPost.edit = function(id) {
        $wp_inline_edit.apply(this, arguments);
        var $post_id = 0;
        if (typeof(id) == 'object') {
            $post_id = parseInt(this.getId(id));
        }
        if ($post_id > 0) {
            var $edit_row = $('#edit-' + $post_id),
                $post_row = $('#post-' + $post_id),
                $featured_image = $('.column-featured_image', $post_row).html(),
                $featured_image_id = $('.column-featured_image', $post_row).find('img').attr('data-id');

            if ($featured_image_id != -1) {
                $(':input[name="_thumbnail_id"]', $edit_row).val($featured_image_id); // 填充图像ID
                $('.lb_upload_featured_image', $edit_row).html($featured_image); // 填充图像HTML
                $('.lb_remove_featured_image', $edit_row).show(); // 显示移除链接
            }
        }
    }
});
</script>
<?php
}
功能验证与使用
将以上所有代码段按顺序添加到主题的 functions.php 文件后,刷新 WordPress 后台的文章列表页面。现在,你应该可以:
- 在列表中看到“特色图像”列。
- 点击文章标题下的“快速编辑”,在展开的面板中直接“设置”或“移除”特色图像。
- 保存后,列表中的缩略图会即时更新。
通过本教程,你可以在不安装额外插件的情况下,为 WordPress 后台文章列表添加一个高效的特色图像管理功能,非常适合内容编辑和运营人员使用。